Keeping your kitchen counters clutter-free can transform your cooking space into a more functional, attractive, and stress-free environment. A clear countertop not only makes it easier to prepare meals but also creates a welcoming space for family and guests. If your counters are often crowded with appliances, utensils, and miscellaneous items, don’t worry—there are practical steps you can take to reclaim your space.
In this post, we’ll walk through effective strategies to organize your kitchen counters and maintain a neat, clutter-free look.
Why a Clutter-Free Kitchen Counter Matters
Before diving into solutions, it helps to understand the benefits of keeping your counters clear:
– More workspace: Clear counters provide ample room for meal prep.
– Easier cleaning: Fewer items mean quicker and more thorough cleaning.
– Improved safety: Reducing clutter helps prevent accidents like spills or broken items.
– Aesthetic appeal: A tidy kitchen feels more inviting and relaxing.
– Better focus: It’s easier to find what you need and stay organized.
Step 1: Assess What’s on Your Counters
Start by taking everything off your counters and sorting items into categories:
– Daily essentials: Items you use every day (coffee maker, toaster).
– Occasional use: Appliances or tools you use once in a while.
– Rarely used: Specialty gadgets or decor.
– Trash and expired foods: Discard what you don’t need or what’s past expiration.
This initial step helps you see what truly belongs on your counters and what can be stored elsewhere.
Step 2: Only Keep Daily Essentials Accessible
Limit countertop items to those you use frequently. For example:
– Coffee machine and mug rack if you drink coffee daily
– Knife block or magnetic knife strip
– Salt and pepper shakers
– Fruit bowl or herb planter
Everything else should find a home in cabinets, drawers, or pantry shelves.
Step 3: Optimize Storage Space Nearby
To reduce countertop clutter, maximize your kitchen’s storage options:
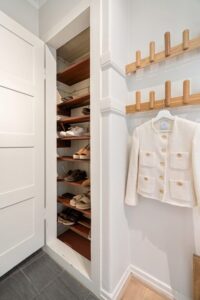
– Install additional shelves: Use the wall space above counters for shelves to hold mugs, spices, or small appliances.
– Use drawer organizers: Keep utensils and tools neatly arranged and easy to access.
– Store appliances in cabinets: Items like blenders or mixers can live in cupboards when not in use.
– Add hooks or racks: Hang pots, pans, or frequently used tools on a wall-mounted rack.
Step 4: Use Smart Containers and Trays
Grouping items together helps contain visual clutter and makes cleaning easier:
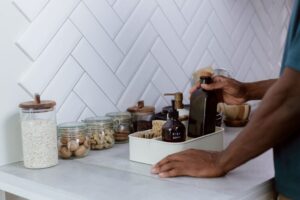
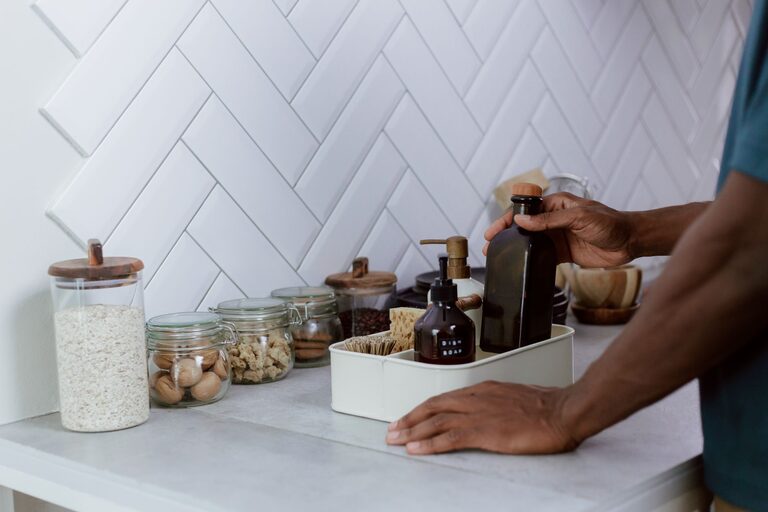
– Use trays: Place items like oils, vinegars, or cooking oils on a decorative tray to keep them organized.
– Use jars or canisters: Store dry ingredients (flour, sugar, coffee) in matching containers.
– Declutter spice jars: Consolidate spices into a rack or drawer to free up counter space.
Step 5: Set Up a Designated Drop Zone
Mail, keys, or charging devices often end up on kitchen counters. Create a dedicated area to keep these organized, such as:
– A wall-mounted organizer with pockets and hooks
– A small basket or bowl for keys and loose items
– A charging station for phones and electronics
Having one spot for miscellaneous daily items prevents scattered clutter.
Step 6: Establish Decluttering Habits
Maintaining a clutter-free countertop requires consistent habits:
– End-of-day reset: Spend a few minutes every evening putting things back in their place.
– Weekly editing: Periodically remove items that don’t belong or aren’t being used.
– Mindful purchases: Avoid buying kitchen gadgets or decor that will add to clutter.
– Clean as you go: Wipe surfaces immediately after cooking or preparing food.
Step 7: Keep Decor Minimal and Functional
While some decorative items add charm, too many can contribute to clutter.
– Choose a few simple items like a small plant or a decorative bowl of fruit.
– Avoid stacking multiple decor pieces on counters.
– Opt for decor that serves a purpose, such as pretty storage jars or attractive cutting boards.
Additional Tips for Specific Counter Areas
Near the Sink
– Keep soap dispensers, sponges, and towels streamlined.
– Use a compact caddy for cleaning supplies to keep them contained.
Cooking Zone
– Limit oils, salts, and spices to what you frequently use.
– Store bulky appliances like stand mixers nearby but off the main counter if possible.
Prep Area
– Keep this space clear for chopping and mixing.
– Store knives in a magnetic strip or block nearby rather than scattered on counters.
Final Thoughts
A clutter-free kitchen counter is achievable with a little effort and planning. By sorting your items, prioritizing daily essentials, optimizing storage, and adopting simple habits, you’ll enjoy a more organized and efficient kitchen space. Remember, the key is regular maintenance—making decluttering a part of your routine so your counters stay inviting and ready for whatever meal you want to create next.
Enjoy your clean, clutter-free kitchen!